 Most of the various breakdowns in washing machines are quite possible to fix with your own hands.
In order to gain access to the parts inside the washing machine, you should know the features of disassembling your washing machine, as well as other models of vertical and front-loading washing machines and their specifics.
- What you need to disassemble the washing machine
- Washing machine disassembly diagram
- Horizontal loading
- Step-by-step instructions for disassembling the washing machine
- Vertical loading
- How to disassemble washing machines of various brands
- Disassembly of the washing machine and its subsequent repair
- Replacing the heating element
What you need to disassemble the washing machine
You will need:
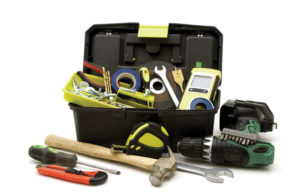 Several screwdrivers (phillips and slotted are required).
- Screwdriver.
- Several hexagons.
- Pliers.
- Hammer.

Some types of connections simply "stick" over time.
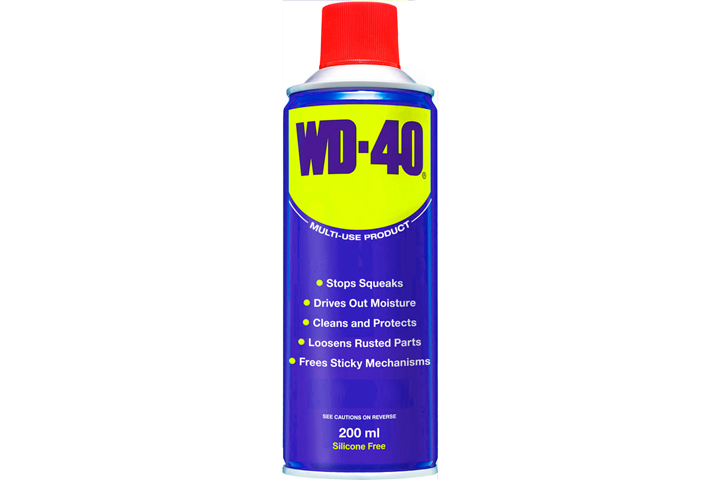 In order for you to be able to unscrew such an old screw, you will need a special fluid that almost all motorists have - WD-4O.
Other than that, you never hurt small pelvis to drain the remaining water from the hose and a few rags, with which you can wipe the internal parts, wipe your hands and quickly collect the water that has spilled out of the pelvis.
Washing machine disassembly diagram
Devices from any manufacturer like Ariston, Indesit or other washing machines have a similar structure and disassembly principle. There may be only slight differences in details, which we will talk about later.
The basic patterns are predetermined mainly by the type of laundry load.
Horizontal loading
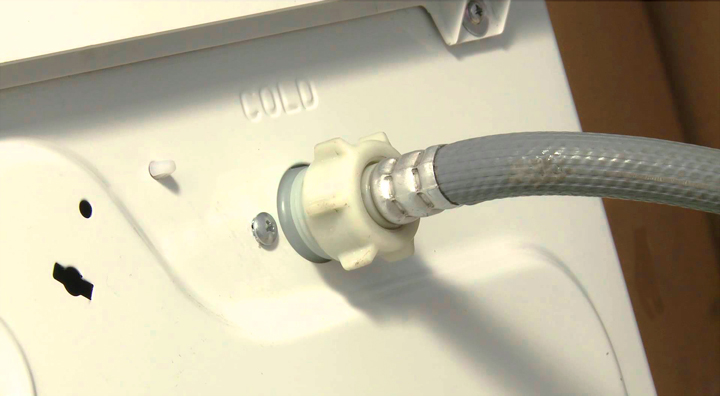 First follows power off your device, remove the drain hose and turn off the water supply.
So you save your time and effort.
For example:
- Decreased wash quality increased noise level when spinning and poorly wrung out laundry indicates a problem in the pump, or is it just a clogged hose. To fix this type of breakdown, disassemble the washing machine from below, or simply remove the front panel.
- If you notice that water does not heat up, then this is most likely a breakdown of the heating element. You can find out the location of this part by reading the instructions. As a rule, you need to remove the back panel, but in some models of washing devices this part may be in front.
- If a drain takes longer than usual, then the problem is in the pressure switch or pump. Based on the structural structure of the washing machine, the part can be located either behind the side panel, or in the upper part.
- If there is a problem with drum or bearings, then you will have to completely disassemble the washing machine.
Step-by-step instructions for disassembling the washing machine
- Upper hatch.
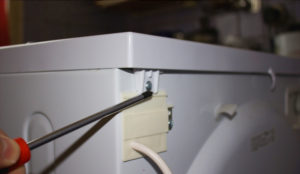

It is held in place by a few screws (you can use a Phillips screwdriver to get them out) at the top of the rear panel. When you have unscrewed them, you should press on the cover from the front side, and then lift it up.
 Tray for detergents.
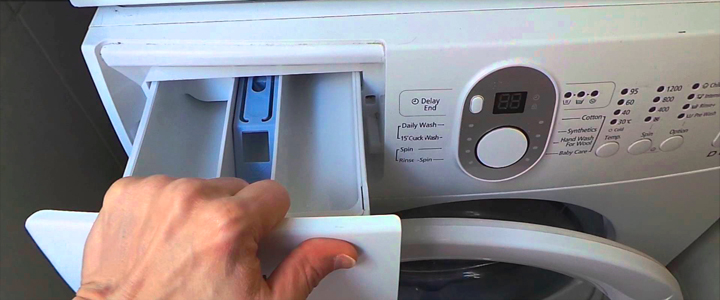
To remove this element, you need to feel for a special plastic button, which, as a rule, is located in the center of the tray, and after you press it, pull the element towards you and the dispenser for gels and powders will come out.
 Removing the washer control panel.
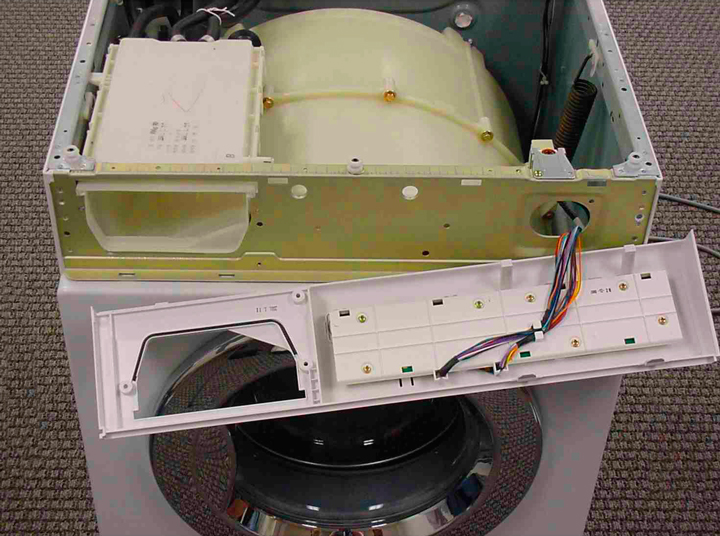
This item is attached with a pair of screws. One of them is located under the powder tray, and the second one is located on the opposite side of the panel. Do not forget that it should be handled with extreme care, but it would be better if you put it on top of the washing machine or hang it on a hook.
- Dismantling the service panel.
It is needed for servicing and removing small items that accidentally fell into the tank during washing, so there is nowhere to remove it easier - click on two latches on the sides and on the third one, which is in the middle.
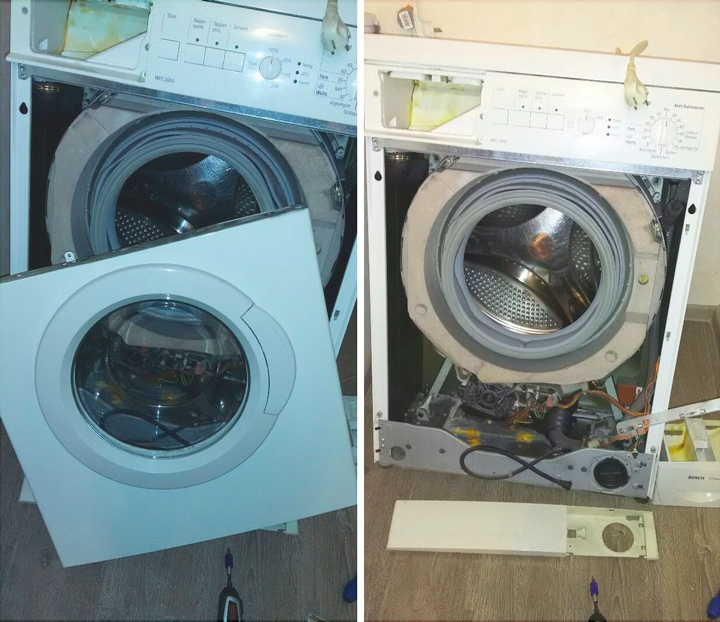
- Front wall.
 First you need to remove the rubber clamp located on the loading hatch. It is held by a small spring that needs to be tucked in.
Next, the cuff needs to be pulled in a circle (pliers and screwdrivers will help you). If the cover is in the way, you can remove it by unscrewing just a few bolts, but if it doesn't bother you at all, you can leave it alone.
 Next, find all the latches that hold the front panel.
In addition to them, there are still hooks on the panel and in order to remove them, the part should be slightly raised.
The power connector is removed from the sunroof blocking devices, and now the panel is completely at your disposal.
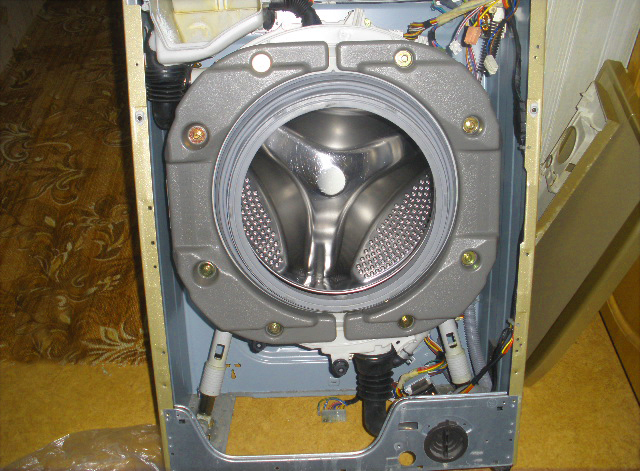
 Back panel.
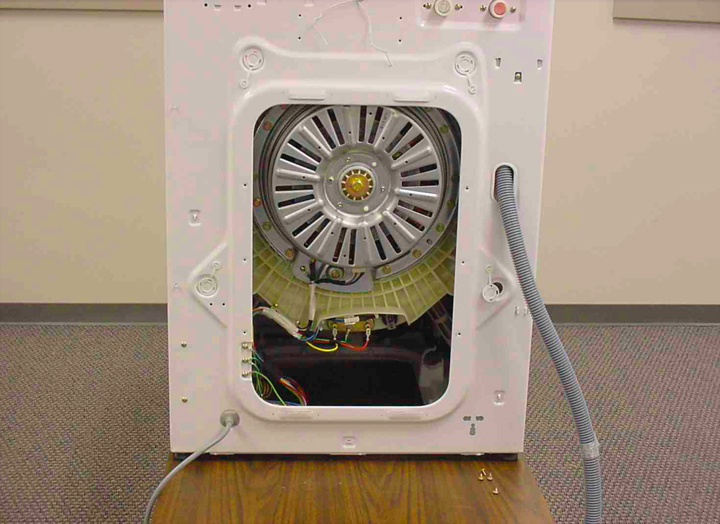
Everything is much simpler here, because to remove this wall you just need to unscrew the fixing bolts around the entire perimeter (of which there can be quite a lot).
Vertical loading
Unit must be disconnected from the drain, electricity and water supply.
- Control Panel.
Carefully, using a screwdriver, pry off the top control panel from all sides. Pull it up, then towards the back wall, and then tilt it at an angle convenient for you so that you can work with wires without hindrance.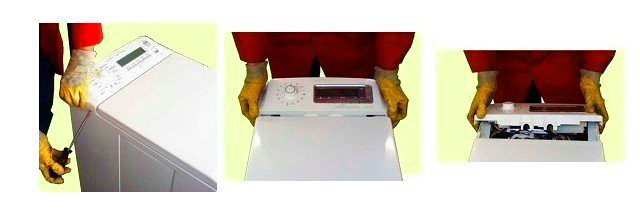 Be sure to take a picture of the location of the wires in the disassembly state "BEFORE". Then everything is twisted and dismantled. On the printed circuit board are all the elements that are unscrewed to further detach the mounting module.
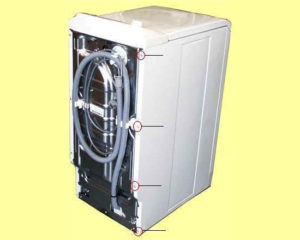
- Side walls. To remove the side panels, unscrew all the screws, the bottom edge deviates towards you, and pull it down.
- front wall. You can remove its fasteners only after dismantling the side panels.
How to disassemble washing machines of various brands
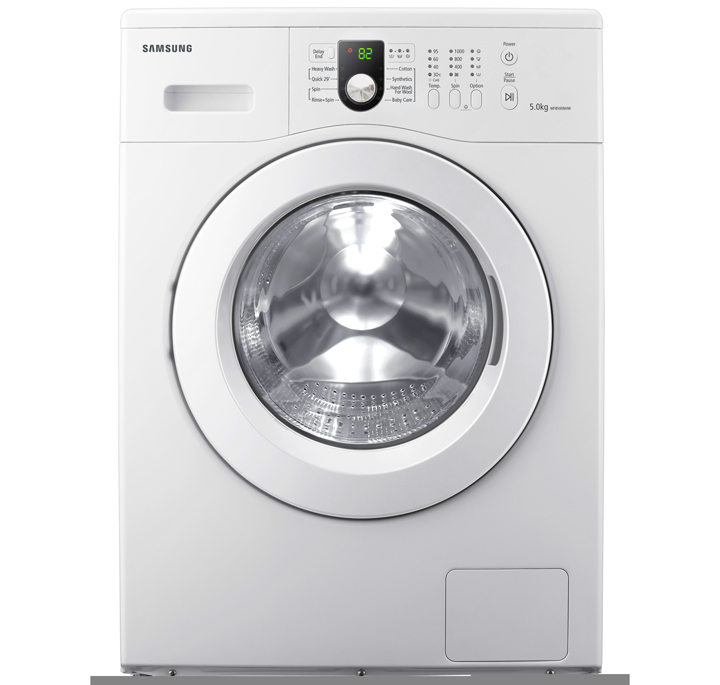
 How to disassemble a Samsung washing machine
In Samsung washing machines, the detergent tray is attached to two self-tapping screws.
The heating element in Samsung washing machines is located under the front cover of the washer, below the loading tank.
 How to disassemble a washing machine Ariston
The biggest trouble that can befall Ariston washing machines is the breakdown of oil seals and bearings. The manufacturer did his best to make sure that these parts could not be repaired, although if you have golden hands, then this is not an obstacle.
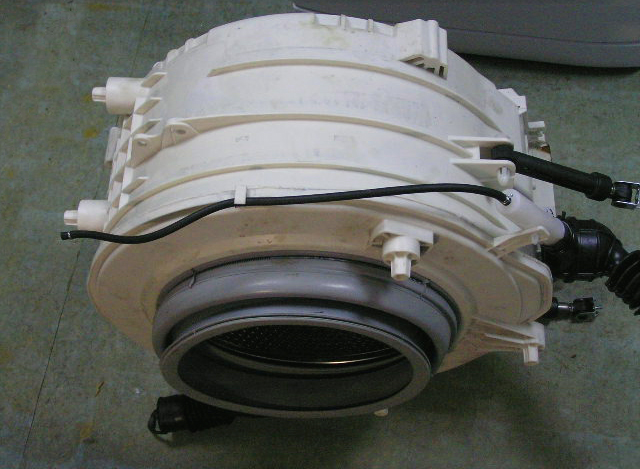
The tanks of Ariston washing machines are one-piece, so to replace the seals, you will have to completely flare the tank, or, simply put, cut it.
How to disassemble the washing machine Atlant
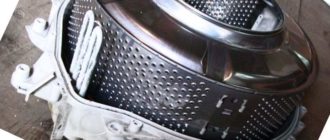
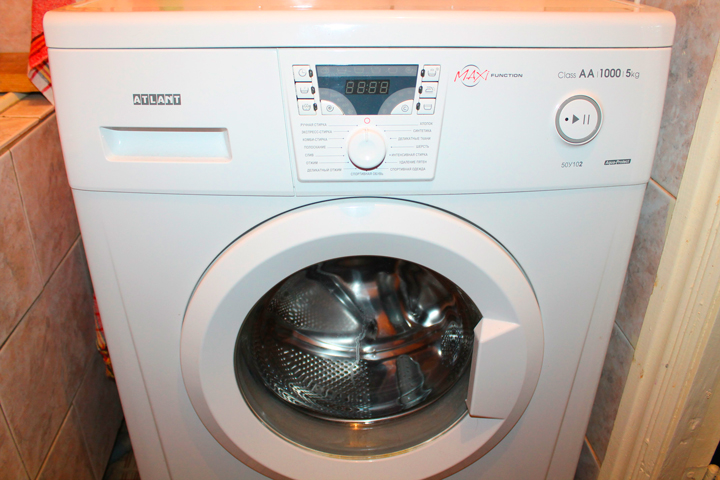 It is very convenient to get the drum in the Atlant washing machine through the top hatch, not forgetting to remove the counterweight in advance and dismantle the top control panel. The drum in this model is disassembled into two halves, which are bolted together in working order. Such a model in terms of tank repair is very practical.
How to disassemble the Electrolux washing machine
The front wall in the Electrolux can be removed, and it will also provide access to all the main nodes.
“To replace (repair) bearings and seals, it is not necessary to dismantle the entire tank, since these parts are on removable supports.”
How to disassemble a washing machine LG
 To remove the front wall of the washing machine in LG, you will need to unscrew the manhole cover, and then remove the cuff. It is held by a clamp, which will become a screw in one place.
This screw can be found if you pry up the end of the clamp with a screwdriver and inspect everything, moving in a circle.
For easier removal of the drum, first remove the top weight from it.
How to disassemble the washing machine Indesit
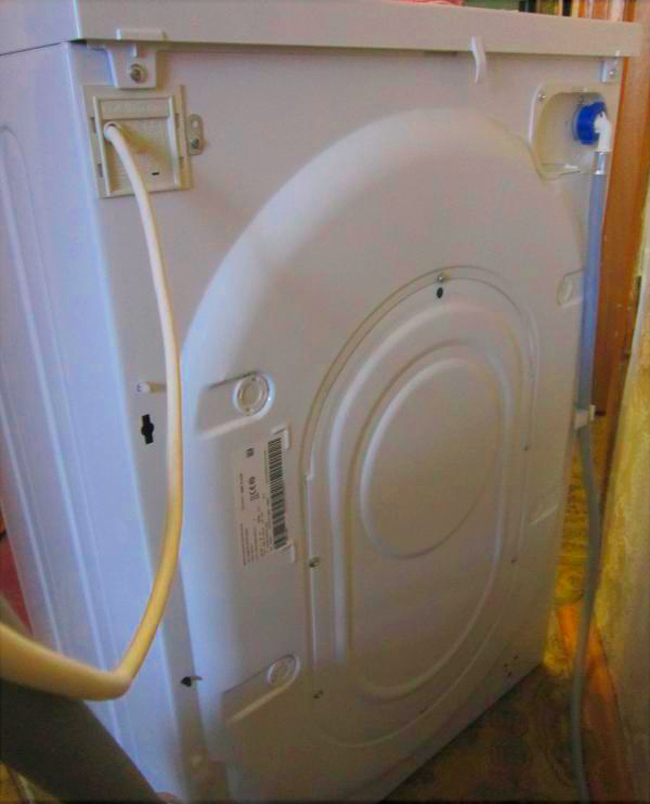 The back panel of the Indesit washer is a small oval wall, which is attached to six bolts. The top cover is inserted into the grooves, and to remove it you will need to unscrew the two bolts, and then grasp the part towards yourself, while not lifting it.
The heating element is located under the tank, and access to it is freely opened through the back of the device.
The weighting load in the washing machines of this company is located below and above the tank.
How to disassemble a Bosch washing machine
In the basic configuration, a Bosch washing machine also comes with a special wrench, which is located in the bottom panel. Behind it you will find a drain pump, which will be located a little to the left.
Disassembly of the washing machine and its subsequent repair
To identify what exactly is broken, they will help you error codes, which many washing devices display.
Suppose, in order to understand that the bearings have become predisposing to breakage, you should open the hatch door and lift the drum with your hand. If there is play, then the problem is really in the bearings.
Here are some common breakdowns and how to fix them.
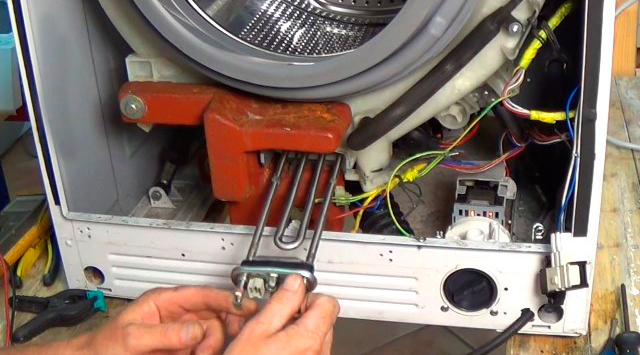
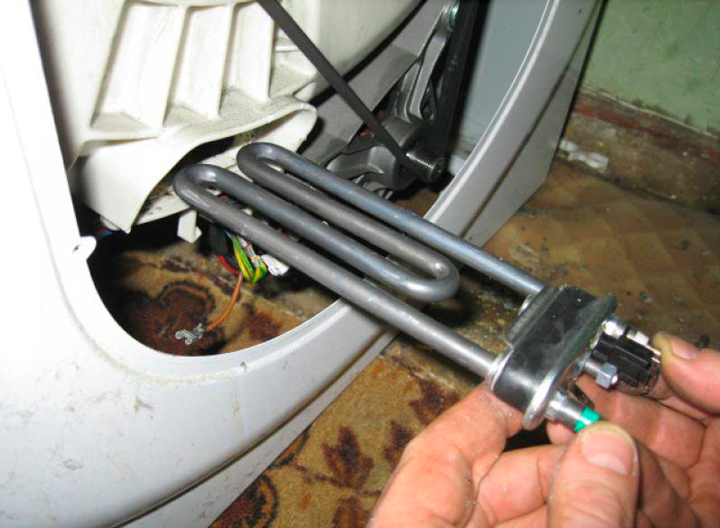
Replacing the heating element
Let's take a look at how the water heater element is replaced.
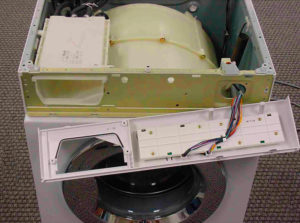
 If the water stops heating, then the heating element should be replaced. Buy a part that fits your washing machine, then find a diagram for a specific type of machine. As a rule, simple dismantling of the back panel of the washer helps.
- Under the tank you will see the end part of the heating element and the terminal. Their location is best captured by taking a picture on your phone.
- Wires and terminals should be disconnected, loosen the central screw. Next, using a screwdriver, pick up the heater by the edge and try to loosen it from side to side, pulling it towards you a little.
- Do the cleaning inside the repair site.
- Install a new element, tighten the screw and connect everything according to the photographed diagram.
Pump and drain system
 Quite often, the problem appears precisely in the drain system (water either stops draining altogether, or flows out, but very slowly). To begin with, you should check filter, which is located behind the plinth service panel and the hoses that go from it to the pump and back. It is in this interval that a blockage appears, which is not difficult to eliminate.
"To check the operation of the pump, you can remove it from the device"
Sometimes it also happens that foreign objects could damage the impeller of the washing machine. In such cases, the pump will have to be replaced with a new one.
Assembly
If during disassembly you photographed everything you need, then after that it will be enough to carry out all the work, but only in the reverse order.
It can be quite difficult to install the fixing spring in place. For convenience, fasten it with a wire at the top, and then pull it counterclockwise.
And in conclusion…
It is quite possible to make repairs, clean or change a part in the tank of an automatic washing machine, which is shown by the experience of many home craftsmen.


Are there washing machines with a shade in the front?
Hello. I have an old Miele Senator vertical 110 at 1200 rpm.
There was a rhythmic percussive click during the scrolling of the drum.
Looks like something else got stuck between the tank and the drum.
Moreover, the sound is heard only when the drum rotates to the right.
When rotating in the opposite direction, no extraneous sounds.
I tried to get it with a flexible hook. does not work. What should I do . how to disassemble the tank?